Cette page n'est pas une page officielle de l'application ou de son développeur, mais une publication éditoriale indépendante créée à des fins d'information et de commentaire. Sauf indication expresse contraire, ni l'application ni son développeur ne sont affiliés, approuvés, sponsorisés, autorisés ou autrement officiellement liés à MWM, Apple, Google Play, à l'éditeur de l'application ou au développeur de l'application, et rien sur cette page n'implique que l'application a été développée en utilisant les services de MWM. Toutes les marques, logos, captures d'écran et autres contenus restent la propriété de leurs propriétaires respectifs.

MoonCatcher
Ne vous contentez plus de photos floues et blanches. Transformez votre iPhone en un appareil photo lunaire de précision avec zoom 40x, contrôle automatique de l'exposition et mise au point professionnelle spécialement conçue pour le ciel nocturne.
Téléchargements
14K+Note
Nombre d'avis
0Éditeur
Catégorie
Photo & VideoLangues
2Dernière version
18.1Taille
22.7 MBDate de sortie
17 déc. 2014Capturez le cosmos avec précision
Ne vous contentez plus d'une image floue et blanche. MoonCatcher transforme votre iPhone en un puissant télescope lunaire grâce à une mise au point avancée et des commandes d'exposition spécialisées qui révèlent la véritable texture de la lune.
Plus de "taches blanches"
Notre mode Lune spécialisé équilibre automatiquement l'exposition pour révéler les cratères complexes et les motifs lunaires que les applications photo natives ont tendance à surexposer.
Zoom lunaire avancé 40x
Rapprochez-vous comme jamais auparavant. Utilisez notre zoom de précision et notre technologie de mise au point sélective pour obtenir une netteté parfaite, même à grossissement maximal.
Les captures d'écran et la description suivantes proviennent directement de la fiche officielle de l'application sur le store et sont la propriété du développeur.
App Store
Captures
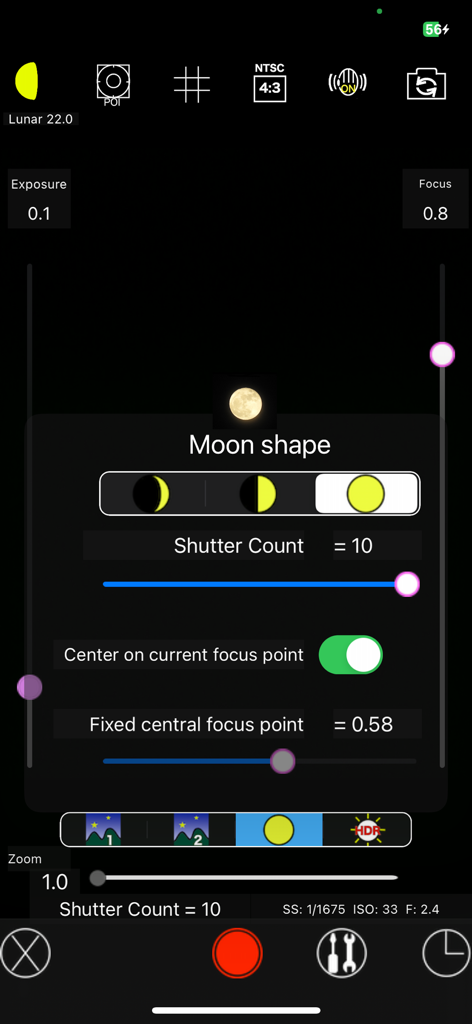
Interface de l'application MoonCatcher affichant les réglages manuels de l'appareil photo et la sélection de la forme de la lune pour l'astrophotographie
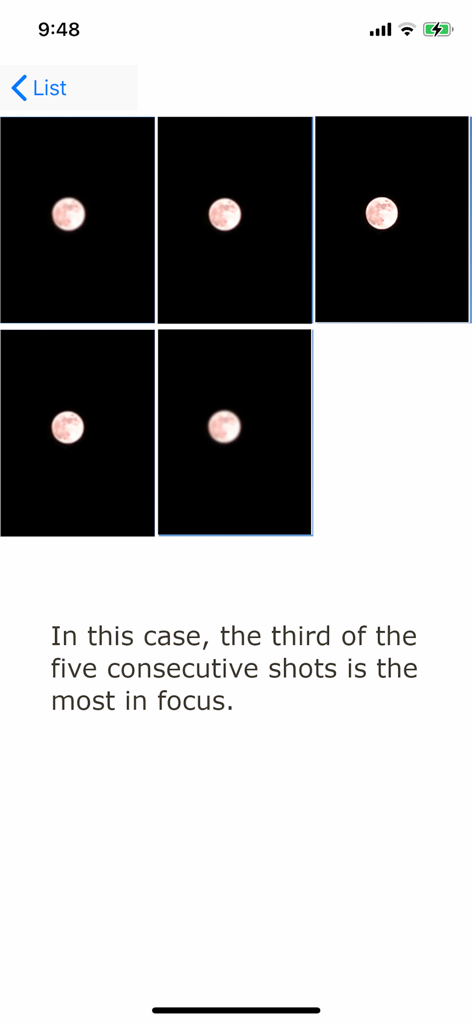
Une séquence de cinq photos consécutives de la lune dans l'application MoonCatcher illustrant le changement de mise au point pour obtenir l'image la plus nette.
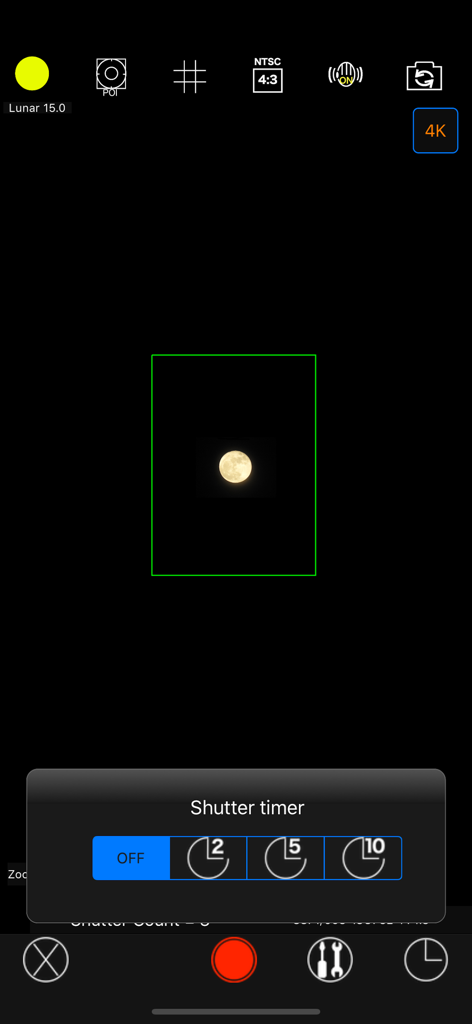
Interface de l'appareil photo de l'application MoonCatcher affichant un menu de retardateur et une image de la lune capturée
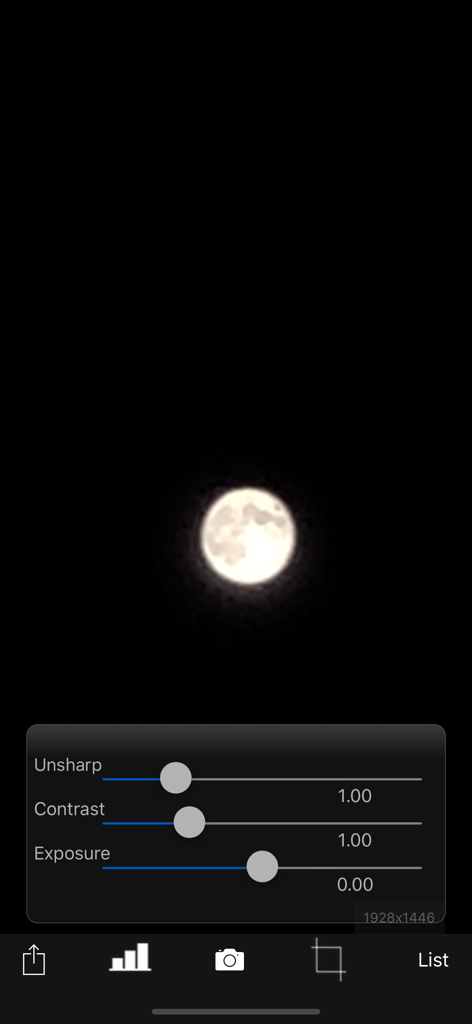
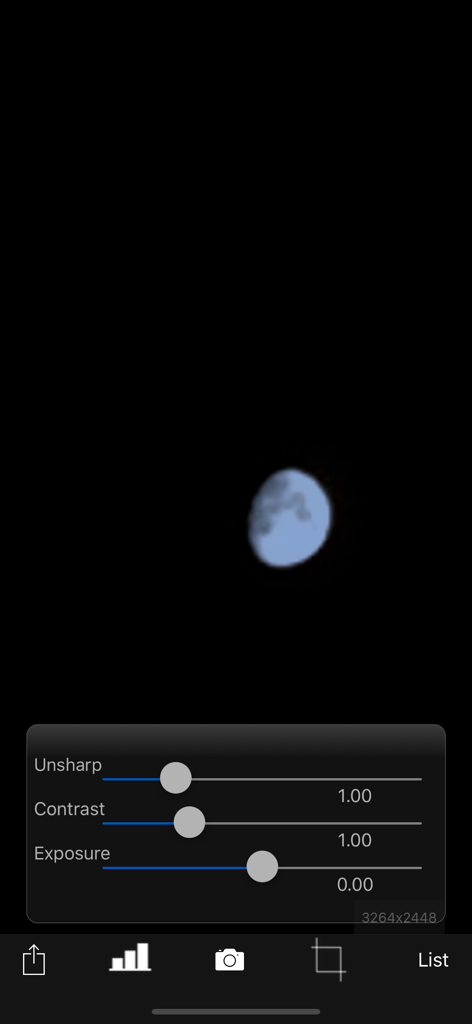
L'application MoonCatcher propose une interface avec une photo de la lune et des curseurs d'édition pour ajuster la netteté, le contraste et l'exposition.
L'écran de retouche photo de l'application MoonCatcher affiche les curseurs de réglage du contraste et de l'exposition sur une image de la lune.
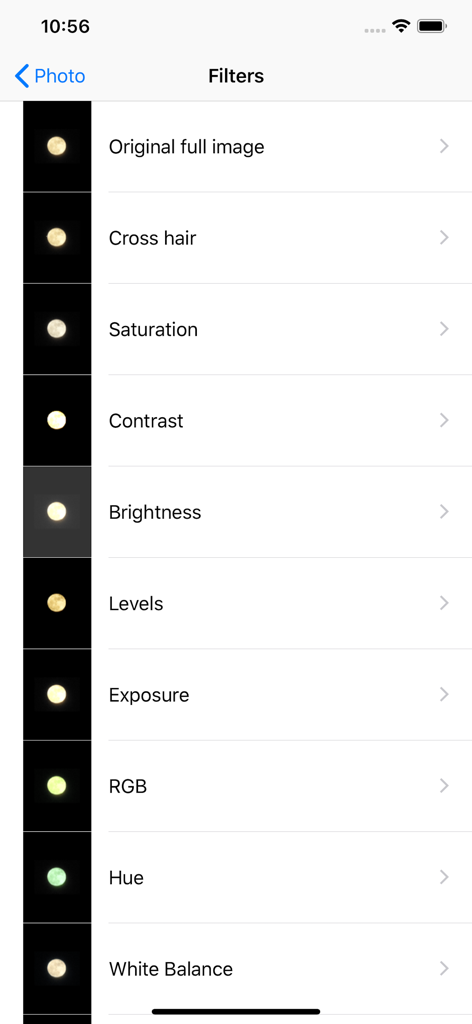
Interface de l'application MoonCatcher affichant une liste de filtres de retouche photo pour la photographie de la lune.
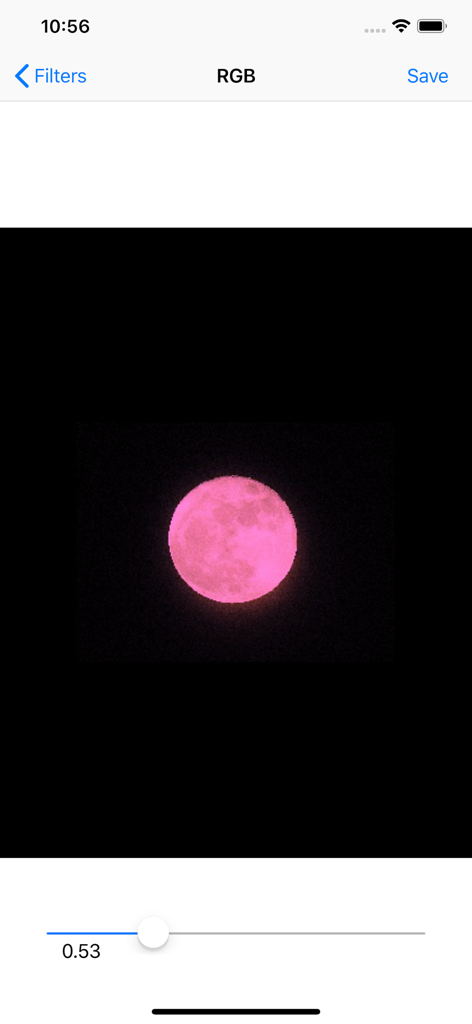
L'interface de l'application MoonCatcher montre une lune rose en cours de modification à l'aide d'un curseur de filtre RVB.
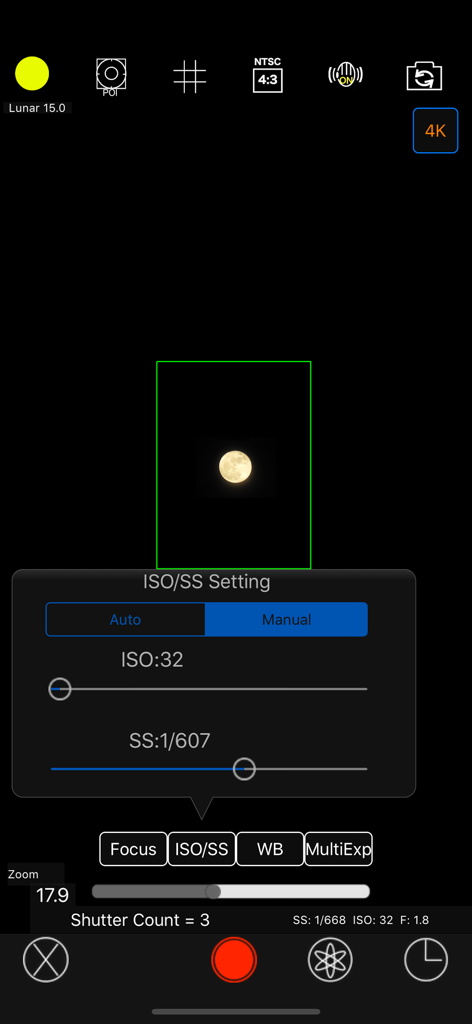
Interface de réglage manuel de l'ISO et de la vitesse d'obturation dans l'application photo MoonCatcher
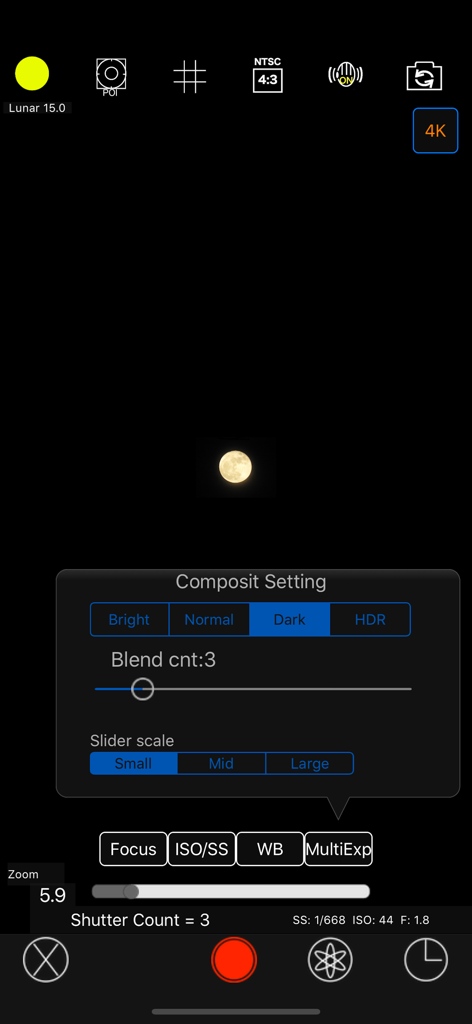
Interface de l'appareil photo MoonCatcher affichant le menu des paramètres de composition manuelle et une image de la lune capturée
Description
Download
Apps Similaires
Apps les mieux classées dans la même catégorie

CapCut: Photo & Video Editor
BYTEDANCE PTE. LTD.

Instagram, Inc.

YouTube
Google LLC

Canva: AI Photo & Video Editor
Canva Pty Ltd

Snapchat
Snap, Inc.

快手
Beijing Kwai Technology Co., Ltd.

Edits: Video Editor
Instagram, Inc.

Meitu- AI Photo & Video Editor
Xiamen Meitu Technology Co., Ltd.

Google Photos: Backup & Edit
Google LLC
Cette page n'est pas une page officielle de l'application ou de son développeur, mais une publication éditoriale indépendante créée à des fins d'information et de commentaire. Sauf indication expresse contraire, ni l'application ni son développeur ne sont affiliés, approuvés, sponsorisés, autorisés ou autrement officiellement liés à MWM, Apple, Google Play, à l'éditeur de l'application ou au développeur de l'application, et rien sur cette page n'implique que l'application a été développée en utilisant les services de MWM. Toutes les marques, logos, captures d'écran et autres contenus restent la propriété de leurs propriétaires respectifs.